How to create an event on Haps
A step-by-step walkthrough of the live event editor — from your first banner to publishing with tickets. Before you begin, you'll need a verified Haps account and, if you're selling tickets, either a verified community group or an approved personal seller profile. Not there yet? Build your event anyway and save it as a draft — ticket sales simply stay locked until verification is complete.
Open the event creator
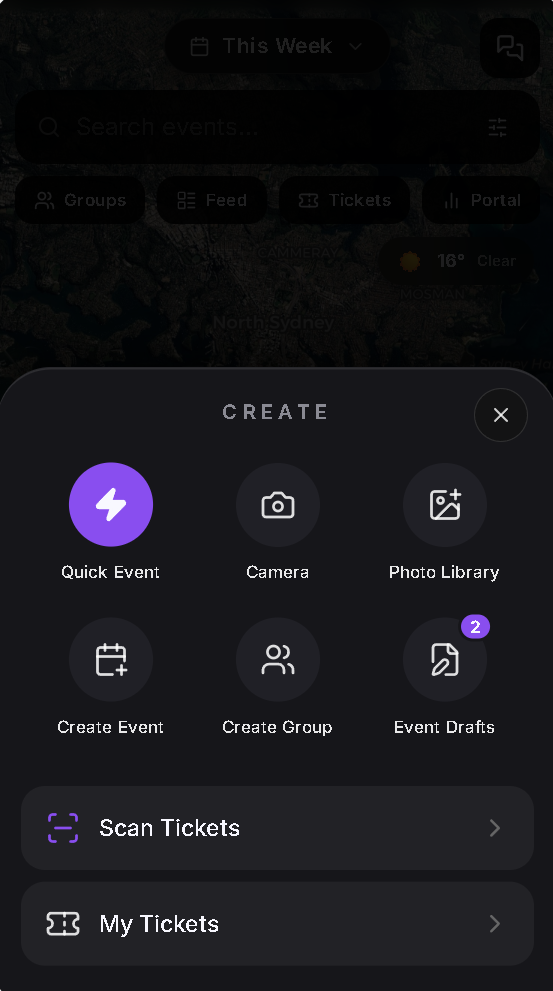
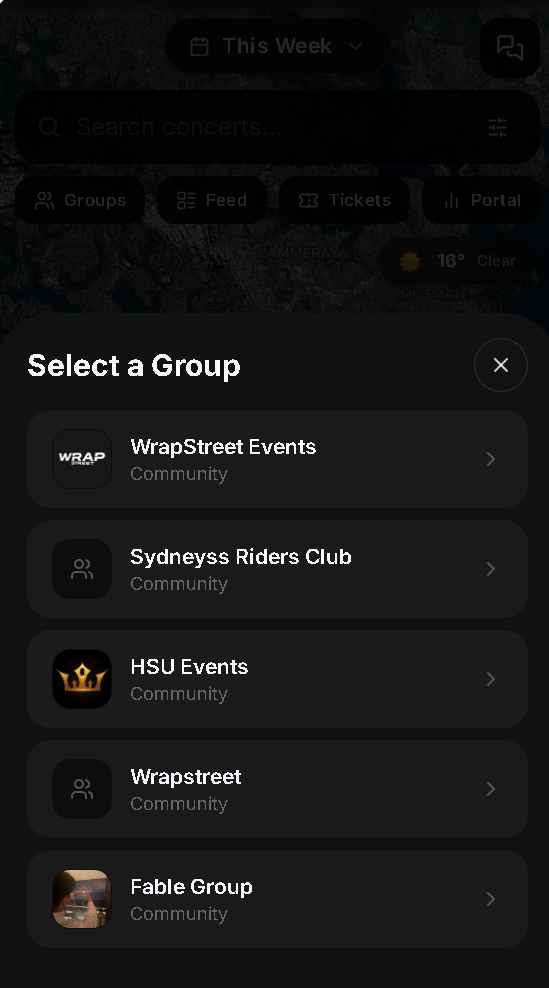
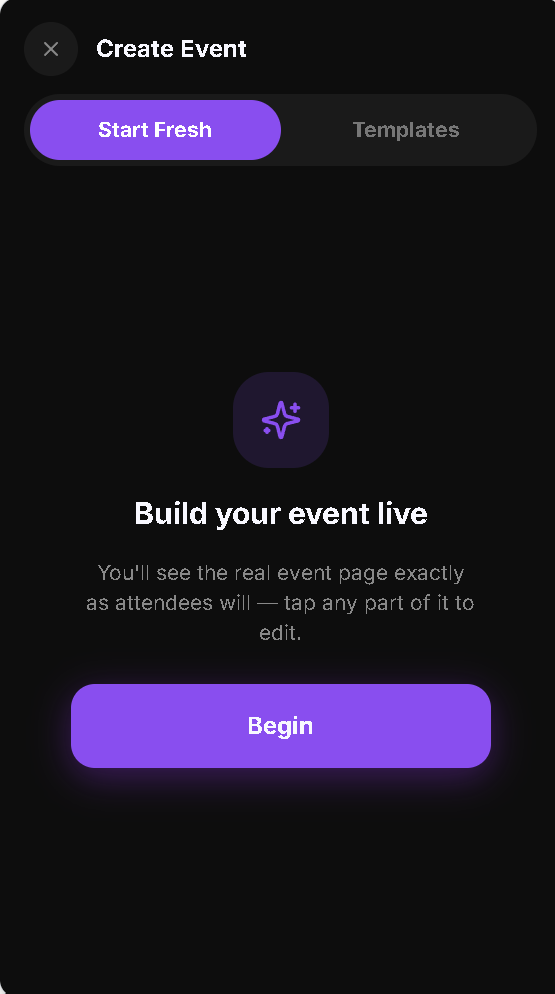
From the map — your home screen — tap the Create button. You'll land on the Create Event screen with two tabs: Start Fresh builds a brand-new event from a blank page, while Templates reuses a previously saved setup (dates and sold tickets are never carried over). Tap Begin to open the live editor.
Add a banner
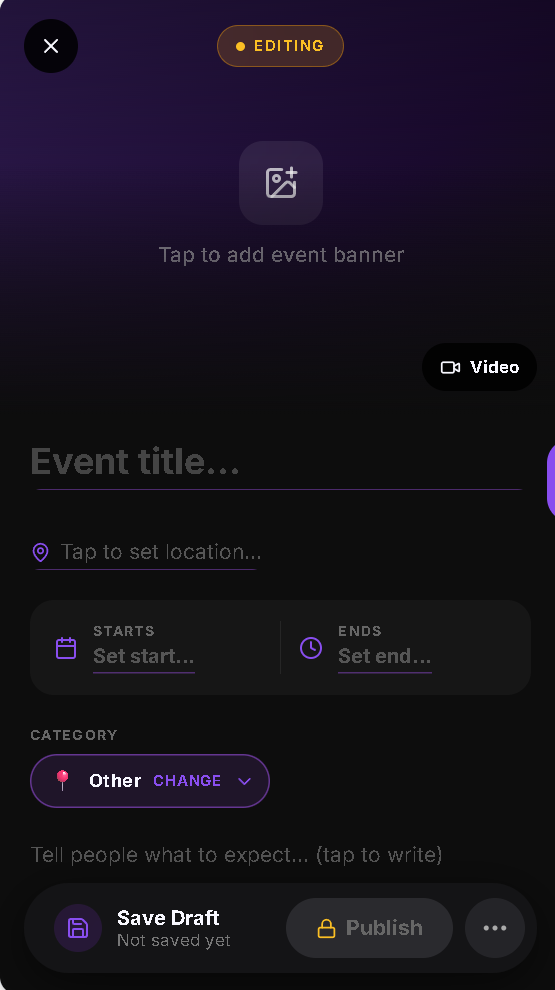
At the top of the editor, tap the large "Tap to add event banner" placeholder to choose a cover photo — up to 5 images, the first becomes your banner. Want a promo video instead? Tap the Video pill on the right edge to attach a short clip (max 100 MB); it autoplays muted as the first slide in your carousel.
Your banner is the first thing attendees see. Use a clear, high-contrast landscape image — 16:9 or wider works best.
Enter your event title
Tap the large title field and type your event name. This is required — you can't publish without it. Be specific: "Sunset Rooftop Yoga — Bondi" beats just "Yoga".
Set the price
Next to the title sits a purple PRICE badge. Not selling tickets through Haps? Just type a price, or leave it as Free. Once ticket sales are on, the badge is derived automatically from your cheapest ticket type and reads "From $X" — it can never disagree with what buyers are charged.
Set the location
Tap the "Tap to set location…" row to open the location picker. Search for a venue or drop a pin directly on the map — you can even pick a custom emoji marker for your pin. Required to publish.
Pick the date and time
Tap the STARTS column to open the calendar and clock picker. Choose your start date and time, then tap through to set the ENDS date and time. Both are required to publish.
Choose a category
Tap the purple category pill (it defaults to Other) to open a grid of nine categories: Music, Sports, Food, Art, Tech, Nightlife, Wellness, Community and Other. Your pick powers discovery, filtering and your map marker style.
Write a description
Tap "Tell people what to expect…" and describe your event — the box expands as you type. A strong description covers what's happening, who it's for, any dress code or age limit, and how to get there.
Add tags
Under the TAGS header, type a keyword and press Enter to add it as a chip — up to 10. Haps suggests relevant tags based on your title and category, like Car Meet, Free Entry or 18+. Tags help the right people find you in search and the Explore feed.
Choose who can see it
Under WHO CAN SEE THIS EVENT, pick Public (listed on the map, Explore and search), Members only (just your community group), or Exclusive only (members you've marked exclusive). A separate Show on map toggle controls whether your pin appears on the public map, independent of visibility.
Not verified yet? A public event goes live on the map immediately but only enters the Explore feed once it reaches 5 likes or RSVPs — or as soon as you're verified. Share your event link early to build traction.
Tickets, recurring & attachments
Under EVENT SETUP, three rows open dedicated sheets. Tickets: turn on paid sales (5% platform fee per sale), set capacity, create ticket types with pricing and perks, add promo codes and schedule a sales go-live. Recurring: make it a daily, weekly, biweekly or monthly series with an optional end date. Attachments: upload schedules, maps or terms that attendees can preview from your event page.
Ticket sales require verification — group events need a verified group; personal events need approved seller status. If the gate isn't met, you'll see a prompt to apply.
Save or publish
The bottom bar has three controls. Save Draft keeps your progress — drafts auto-save every few seconds once you've entered a title. Publish sends your event live; if anything required is missing, the editor highlights the exact fields in red. The ⋯ menu lets you Save as Template or discard. Editing a live event? The button reads Update, and attendees are notified of changes.
Tips for a great listing
Lead with a strong banner image
It's what stops people scrolling.
Be specific in the title
"Sunset Rooftop Yoga — Bondi" beats just "Yoga".
Fill the description completely
Address the who, what, when, where and why.
Use 5–10 relevant tags
They directly feed discovery and recommendations.
Verify early
Unlocks ticket sales, Explore listing and the verified badge on your marker.
Save templates for regular events
Weekly meetups and monthly markets skip the setup next time.
Stuck? If a button won't respond, a save seems to hang, or ticket sales won't unlock, reach out through the app's Settings → Help section — include the event title and a screenshot so we can help fast.